Quick & Flavorful Garlic Butter Chicken Recipe
This Garlic Butter Chicken recipe is a weeknight winner – it’s incredibly fast, incredibly flavorful, and unbelievably versatile. At its core, it’s a simple dish built around perfectly cooked chicken thighs coated in a luscious, aromatic garlic butter sauce. Don’t let the simplicity fool you; the depth of flavor is truly impressive. The key is starting with good quality chicken thighs; bone-in, skin-on thighs provide the most flavor and remain incredibly juicy, a far superior choice to chicken breasts which tend to dry out easily. Juicy Chicken Thighs are your best bet.
Let’s break down the process: First, you’ll pat the chicken thighs dry with paper towels. This is crucial for getting a beautiful, crispy skin if you want it. Then, season generously with Garlic Powder and Black Pepper, about 1-2 teaspoons of each, or to your taste. A pinch of paprika adds a lovely color and subtle smoky note, which really complements the garlic.
Next, heat 1 tablespoon of olive oil – Best Olive Oil – in a large skillet over medium-high heat. Once the oil is shimmering (almost smoking), add the chicken thighs, skin-side down. Let them sear for 5-7 minutes, undisturbed, until the skin is deeply golden brown and incredibly crisp. This initial searing step is critical for developing that amazing flavor and texture. Don’t overcrowd the pan; cook in batches if necessary to ensure even browning. Flip the chicken thighs and cook for another 6-8 minutes, or until they’re cooked through and the internal temperature reaches 165°F (74°C) as measured with an instant-read thermometer. Chicken Thermometer is essential for food safety.
Finally, once the chicken is cooked through, reduce the heat to low. Add 4 tablespoons of unsalted butter – High-Quality Butter – to the skillet and 2-3 cloves of minced garlic – Fresh Garlic – for extra aroma and flavor. Stir until the butter is melted and smooth. Spoon the garlic butter sauce over the chicken thighs and let it simmer for a minute or two to allow the flavors to meld. Serve immediately and enjoy! You can create a fantastic meal by adding a simple pan sauce to your meal Recipe for Pan Sauce.
Serving Suggestions: Salad, Rice Bowl, or Simply Enjoyed
This garlic butter chicken is incredibly versatile and can be enjoyed in a multitude of ways, making it a fantastic weeknight meal. Whether you’re craving a fresh, vibrant salad bursting with flavor, a comforting rice bowl, or simply want a delicious, easy-to-make main course, this recipe delivers.
As a vibrant salad, consider tossing the cooked chicken with arugula, juicy cherry tomatoes, crumbled feta cheese, and a light lemon vinaigrette. Adding a handful of toasted walnuts would also elevate the texture and flavor beautifully. For a truly indulgent salad, consider adding some fresh basil.
To create a satisfying rice bowl, serve the garlic butter chicken over a bed of fluffy jasmine rice or brown rice. Complementing this with vibrant steamed broccoli and some sliced ginger adds a delightful balance of flavors and nutrients. A drizzle of soy sauce or a little teriyaki sauce would add an extra layer of savory goodness.
Or, simply enjoy the chicken, as is! It’s fantastic served with a side of crusty bread for soaking up all that delicious garlic butter. You could also pair it with a simple green salad or some roasted vegetables like carrots and parsnips for a complete and balanced meal. Experiment with different sides to find your perfect pairing. Ultimately, this chicken is a blank canvas for your culinary creativity – have fun!
Prep Time: 5 Minutes
Getting started with this incredibly flavorful garlic butter chicken is surprisingly quick – only takes about 5 minutes of active prep! That’s right, you can have a delicious, restaurant-quality main course on the table in under half an hour, including cooking time. The beauty of this recipe lies in its simplicity; there aren’t a huge number of ingredients or complicated steps. First, you’ll want to take your chicken thighs – ideally bone-in, skin-on for maximum flavor and juiciness, though boneless, skinless thighs work perfectly fine too chicken thighs if that’s your preference. Then, you’ll slice a few cloves of garlic – generally 3-4 cloves will do the trick, depending on how garlicky you like your food garlic – and chop them finely. A small shallot can also be added, minced, for an extra layer of flavor shallots. You’ll also need a generous knob of butter – about 6-8 tablespoons – which is key to that rich, decadent garlic butter sauce butter. Finally, you’ll want to gather your seasonings: salt, pepper, and a pinch of paprika for a hint of color paprika. Preparing these ingredients – chopping the garlic and shallot, measuring out the seasonings – typically takes just 5 minutes, making this recipe an ideal weeknight meal weeknight meals for busy individuals or families. Once those elements are ready, the cooking process itself is incredibly straightforward. Don’t underestimate the power of proper prep! Preparing the ingredients is the biggest time investment, which is why this dish is so accessible, even when you’re short on time quick recipe.
Cook Time: 15-20 Minutes
Achieving that perfectly cooked garlic butter chicken – juicy on the inside, with a beautifully browned exterior – is all about timing and heat control. The entire process, from searing the chicken thighs to allowing them to simmer in the luscious garlic butter sauce, typically takes around 15 to 20 minutes. It’s crucial to understand that this timeframe includes the initial searing stage, which is paramount to developing a rich, flavorful crust. This searing step, lasting roughly 5-7 minutes per batch, utilizes medium-high heat to create a Maillard reaction – a complex chemical process that generates hundreds of flavor compounds. Don’t rush this part; a properly seared chicken thigh will yield a vastly superior taste and texture.
Once the chicken is seared, reducing the heat to medium is key to gentle cooking. This prevents the outside from burning while the inside cooks through. At this point, you’ll typically let the chicken simmer in the garlic butter sauce for approximately 8-12 minutes, depending on the size of the thighs. The goal isn’t to force cook the chicken; rather, it’s to allow the heat to gradually penetrate the meat, resulting in a consistently moist and tender outcome. Regularly checking the internal temperature with a meat thermometer is highly recommended – aim for an internal temperature of 165°F (74°C) for optimal safety and tenderness.
Be mindful that factors like your stovetop’s heat output and the initial temperature of your chicken thighs can subtly influence the cooking time. If your stove runs hot, you might need to reduce the cooking time slightly, while a colder chicken thigh may require a few extra minutes. Ultimately, consistent monitoring and a little experience will help you dial in the perfect cooking time for your specific circumstances. To ensure perfectly cooked chicken each time, consider investing in a reliable digital meat thermometer – these are incredibly valuable tools for achieving precise results. Finally, remember that the last 2-3 minutes are spent with the chicken returning to temperature from the residual heat of the pan; be sure to account for this time. You should aim to avoid overcooking the chicken, which can result in dry, tough meat, and that’s why the careful temperature monitoring is critical.
Tips for Perfect Chicken
Achieving perfectly cooked chicken thighs – juicy on the inside and beautifully browned on the outside – is the key to elevating this Garlic Butter Chicken recipe. Here’s a breakdown of how to nail it:
1. Don’t Overcrowd the Pan: This is arguably the most important tip. Overcrowding lowers the temperature of the pan significantly, leading to steamed, rather than seared, chicken. It’s better to cook in batches, ensuring each piece of chicken has space to develop a proper crust. If you’re short on space, consider using a larger skillet or adding a tablespoon of oil to the pan between batches. For best results, cook in two batches – it’s worth the extra time.
2. Medium Heat is Your Friend: Starting with medium heat is crucial. High heat will burn the exterior before the inside is cooked through. As the chicken sits in the pan, it will naturally start to develop colour. Adjust the heat slightly if needed, but resist the urge to crank it up.
3. Initial Sear & Temperature Control: Begin by searing the chicken thighs, skin-side down, for about 5-7 minutes. This initial sear creates the flavorful brown crust. As the chicken starts to release its juices, the internal temperature will naturally decrease. This is normal – don’t panic! The goal is to slowly cook the chicken through.
4. Flip & Continue Cooking: After the initial sear, flip the chicken thighs and continue cooking for another 6-8 minutes, or until the internal temperature reaches 165°F (74°C) when measured with an instant-read thermometer. Insert the thermometer into the thickest part of the thigh, avoiding the bone. Thermometer using an instant-read thermometer is recommended for precision.
5. Rest Before Slicing: Once cooked through, remove the chicken thighs from the pan and place them on a cutting board. Cover loosely with foil and let them rest for 5-10 minutes. This allows the juices to redistribute throughout the meat, resulting in a more tender and flavorful result. Resting meat is key to perfectly tender meat. Don’t skip this step!
6. Internal Temperature is Key: Always use a meat thermometer to ensure your chicken reaches a safe internal temperature of 165°F (74°C). Food safety temperature is important for preventing foodborne illness.
By following these tips, you’ll consistently produce tender, juicy, and flavorful garlic butter chicken thighs that are a guaranteed crowd-pleaser!
Storage and Reheating Instructions
Proper storage and reheating of your Garlic Butter Chicken will ensure maximum flavor and safety. Generally, cooked chicken, particularly when coated in flavorful sauces like this garlic butter blend, benefits from being stored properly to prevent bacterial growth and maintain its deliciousness.
Storage: Allow the chicken to cool completely – typically for 15-20 minutes – before transferring it to an airtight container. Store it in the refrigerator at 40°F (4°C) or below. It’s best consumed within 3-4 days for optimal quality. For longer storage, you can freeze the chicken. To freeze, portion it into usable sizes (e.g., 4-6 ounce portions) and wrap it tightly in plastic wrap, followed by a layer of aluminum foil. Label the container with the date and freeze for up to 2-3 months. Thawing frozen chicken safely is crucial; the best method is to transfer it directly from the freezer to the refrigerator to thaw slowly. Avoid thawing at room temperature, as this can encourage bacterial growth. If you need to thaw quickly, you can submerge the sealed container in a cold water bath, changing the water every 30 minutes to maintain a cold temperature. Never thaw chicken at room temperature.
Reheating: Reheating garlic butter chicken properly is key to reviving its rich flavor. There are several safe and effective methods:
- Oven: This is the preferred method for maintaining moisture and flavor. Preheat your oven to 350°F (175°C). Place the chicken in an oven-safe dish, cover with foil, and bake for 15-20 minutes, or until heated through to an internal temperature of 165°F (74°C). Remove the foil during the last 5 minutes to allow the chicken to brown slightly. Adding a tablespoon of water to the dish before covering with foil will create steam, further enhancing moisture.
- Stovetop: You can reheat the chicken in a skillet over medium heat. Add a splash of chicken broth or water to the skillet and cover it with a lid. Heat until warmed through, about 5-7 minutes. Be careful not to overcook, as this can dry out the chicken.
- Microwave: While not ideal for maintaining texture, the microwave is a convenient option. Place the chicken on a microwave-safe plate and cover with a damp paper towel. Heat on medium power in 30-second intervals, checking for doneness after each interval. Rotate the chicken during heating to ensure even warming. Monitor carefully to prevent overheating.
Important Note: Always ensure that the chicken is heated completely through to an internal temperature of 165°F (74°C) before serving. Using a food thermometer is the best way to verify this. Reheating once after the initial cooking process is recommended for best flavor. Remember that reheating leftovers should be done carefully to avoid foodborne illness.
Ingredient Breakdown & Substitutions
Let’s talk about the ingredients in this fantastic garlic butter chicken recipe and how you can tailor it to your preferences or what you have on hand. The core components are relatively simple, but understanding how to swap things out can really elevate your dish.
Chicken: Bone-in, skin-on chicken thighs are highly recommended for maximum flavor and moisture. They hold up better during cooking and render more fat, which contributes significantly to the richness of the garlic butter sauce. However, you can absolutely use boneless, skinless chicken breasts – just be mindful of cooking time. Boneless breasts tend to dry out faster, so aim for a slightly lower internal temperature (165°F or 74°C) and consider adding a tablespoon of butter or olive oil during the last few minutes of cooking to maintain juiciness. Alternatively, you could utilize chicken drumsticks or chicken wings for a different textural experience.
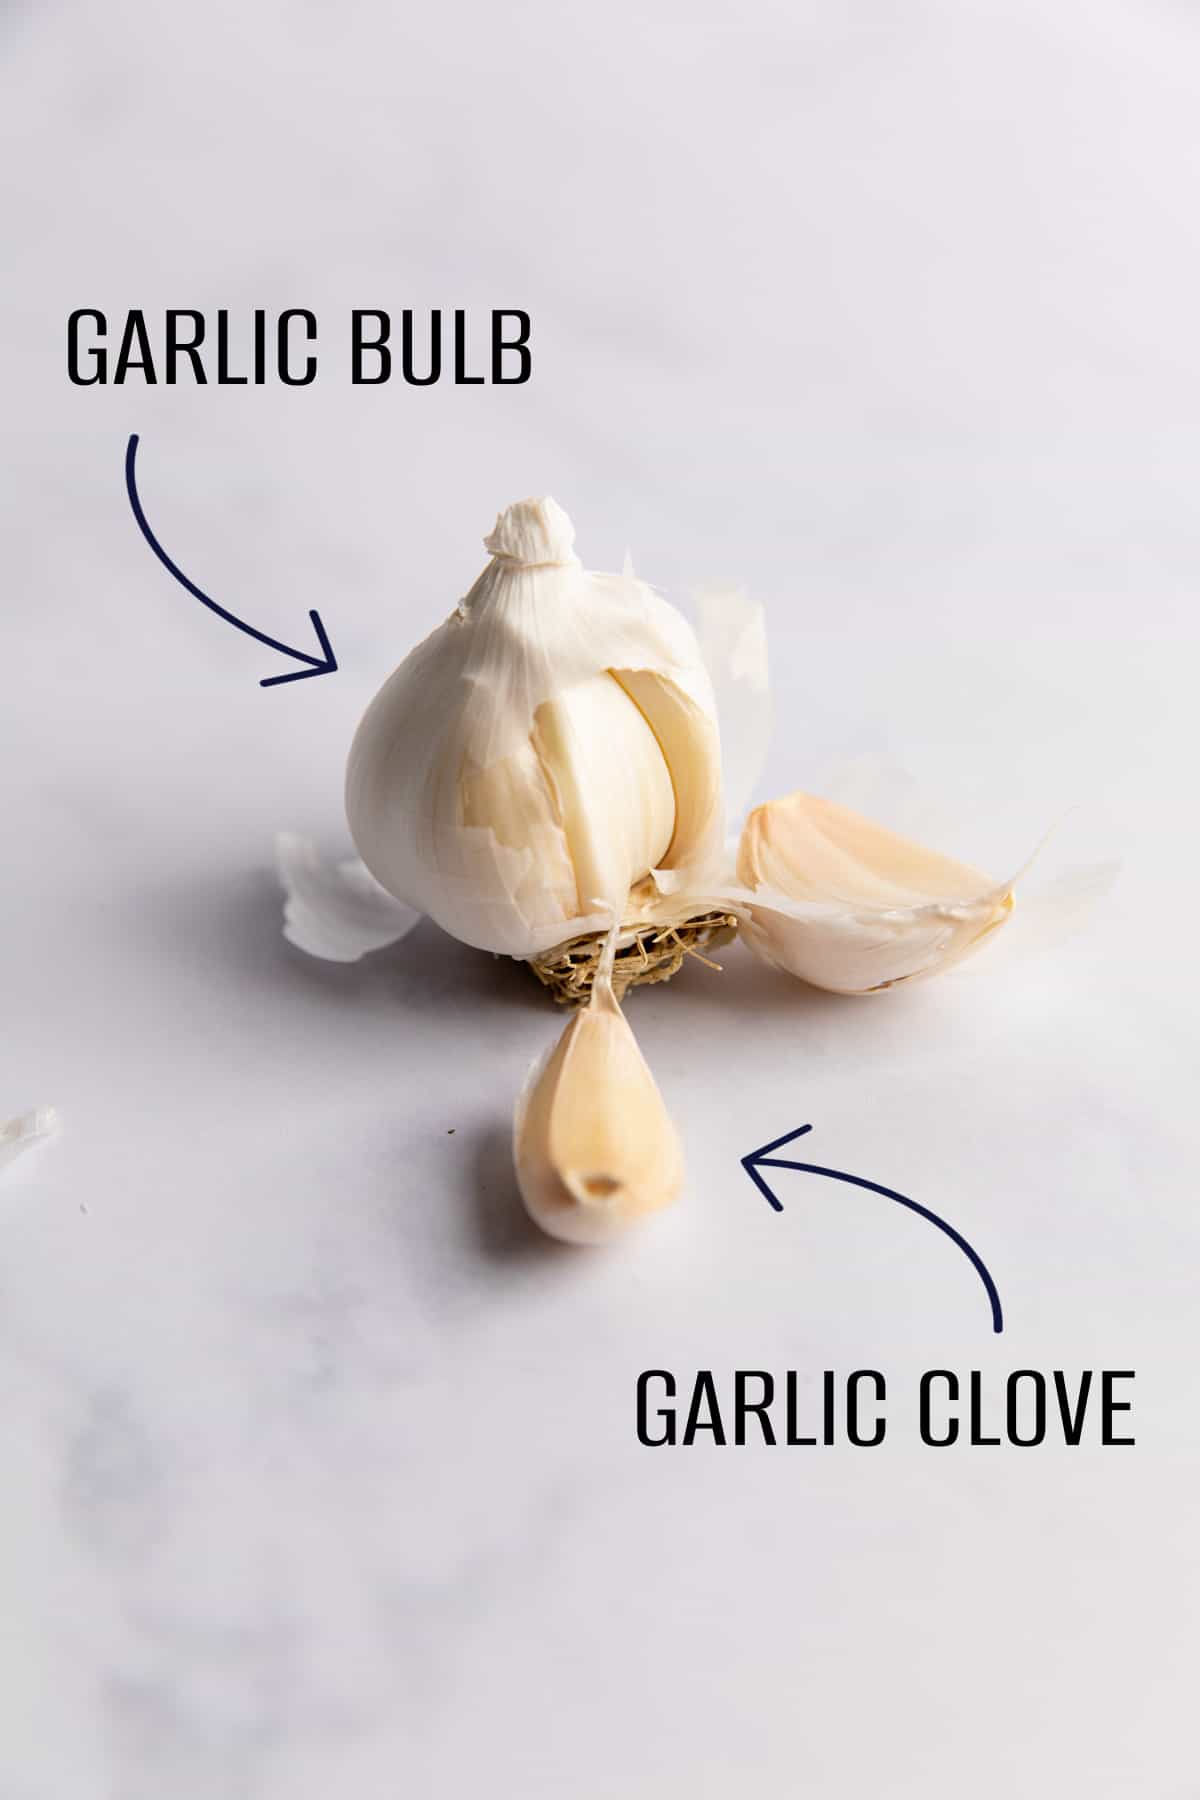
Garlic: Fresh garlic is essential. Garlic powder simply won’t provide the same depth of flavor. Aim for about 6-8 cloves for this recipe – adjust to your garlic love! If you’re short on time, you can reduce the amount, but don’t skip it entirely. Garlic is a key component, adding a pungent, savory note that’s fundamental to the dish’s character.
Butter: Unsalted butter is best, as you can control the overall saltiness. Using salted butter will lead to a saltier final product. You’ll need approximately 6-8 tablespoons for this recipe. For a lighter option, you could substitute some of the butter with olive oil – about 2-3 tablespoons would work well. Olive Oil offers a slightly different flavor profile, adding a fruity and grassy element.
Lemon Juice: The squeeze of lemon juice at the end balances the richness of the butter and garlic, providing a bright, acidic counterpoint. It’s crucial for lifting the flavors. Lemon Juice is a vital ingredient, offering a tartness that brightens the entire dish. You’ll need approximately 1-2 tablespoons.
Chicken Broth: This adds depth and moisture to the sauce. Using a good quality chicken broth (low sodium is preferable) enhances the savory notes. If you don’t have chicken broth, you can substitute with vegetable broth or even water – just be sure to increase the lemon juice to compensate for the reduced flavor. Chicken Broth is key for creating a flavorful base.
Seasoning: Beyond salt and pepper, a pinch of red pepper flakes can add a touch of heat. Dried herbs like thyme or rosemary would also be fantastic additions, adding complexity to the flavor profile. Experiment with different herbs to create your unique twist. Herbs & Spices can drastically change the finished dish’s taste.
Substitutions Summary:
- Butter: Olive oil (2-3 tbsp)
- Chicken Broth: Vegetable broth or water (increase lemon juice)
- Herbs: Thyme, rosemary, oregano – whatever you enjoy!
Don’t be afraid to experiment and adjust the recipe to your liking. This garlic butter chicken is a versatile foundation for countless delicious meals!