
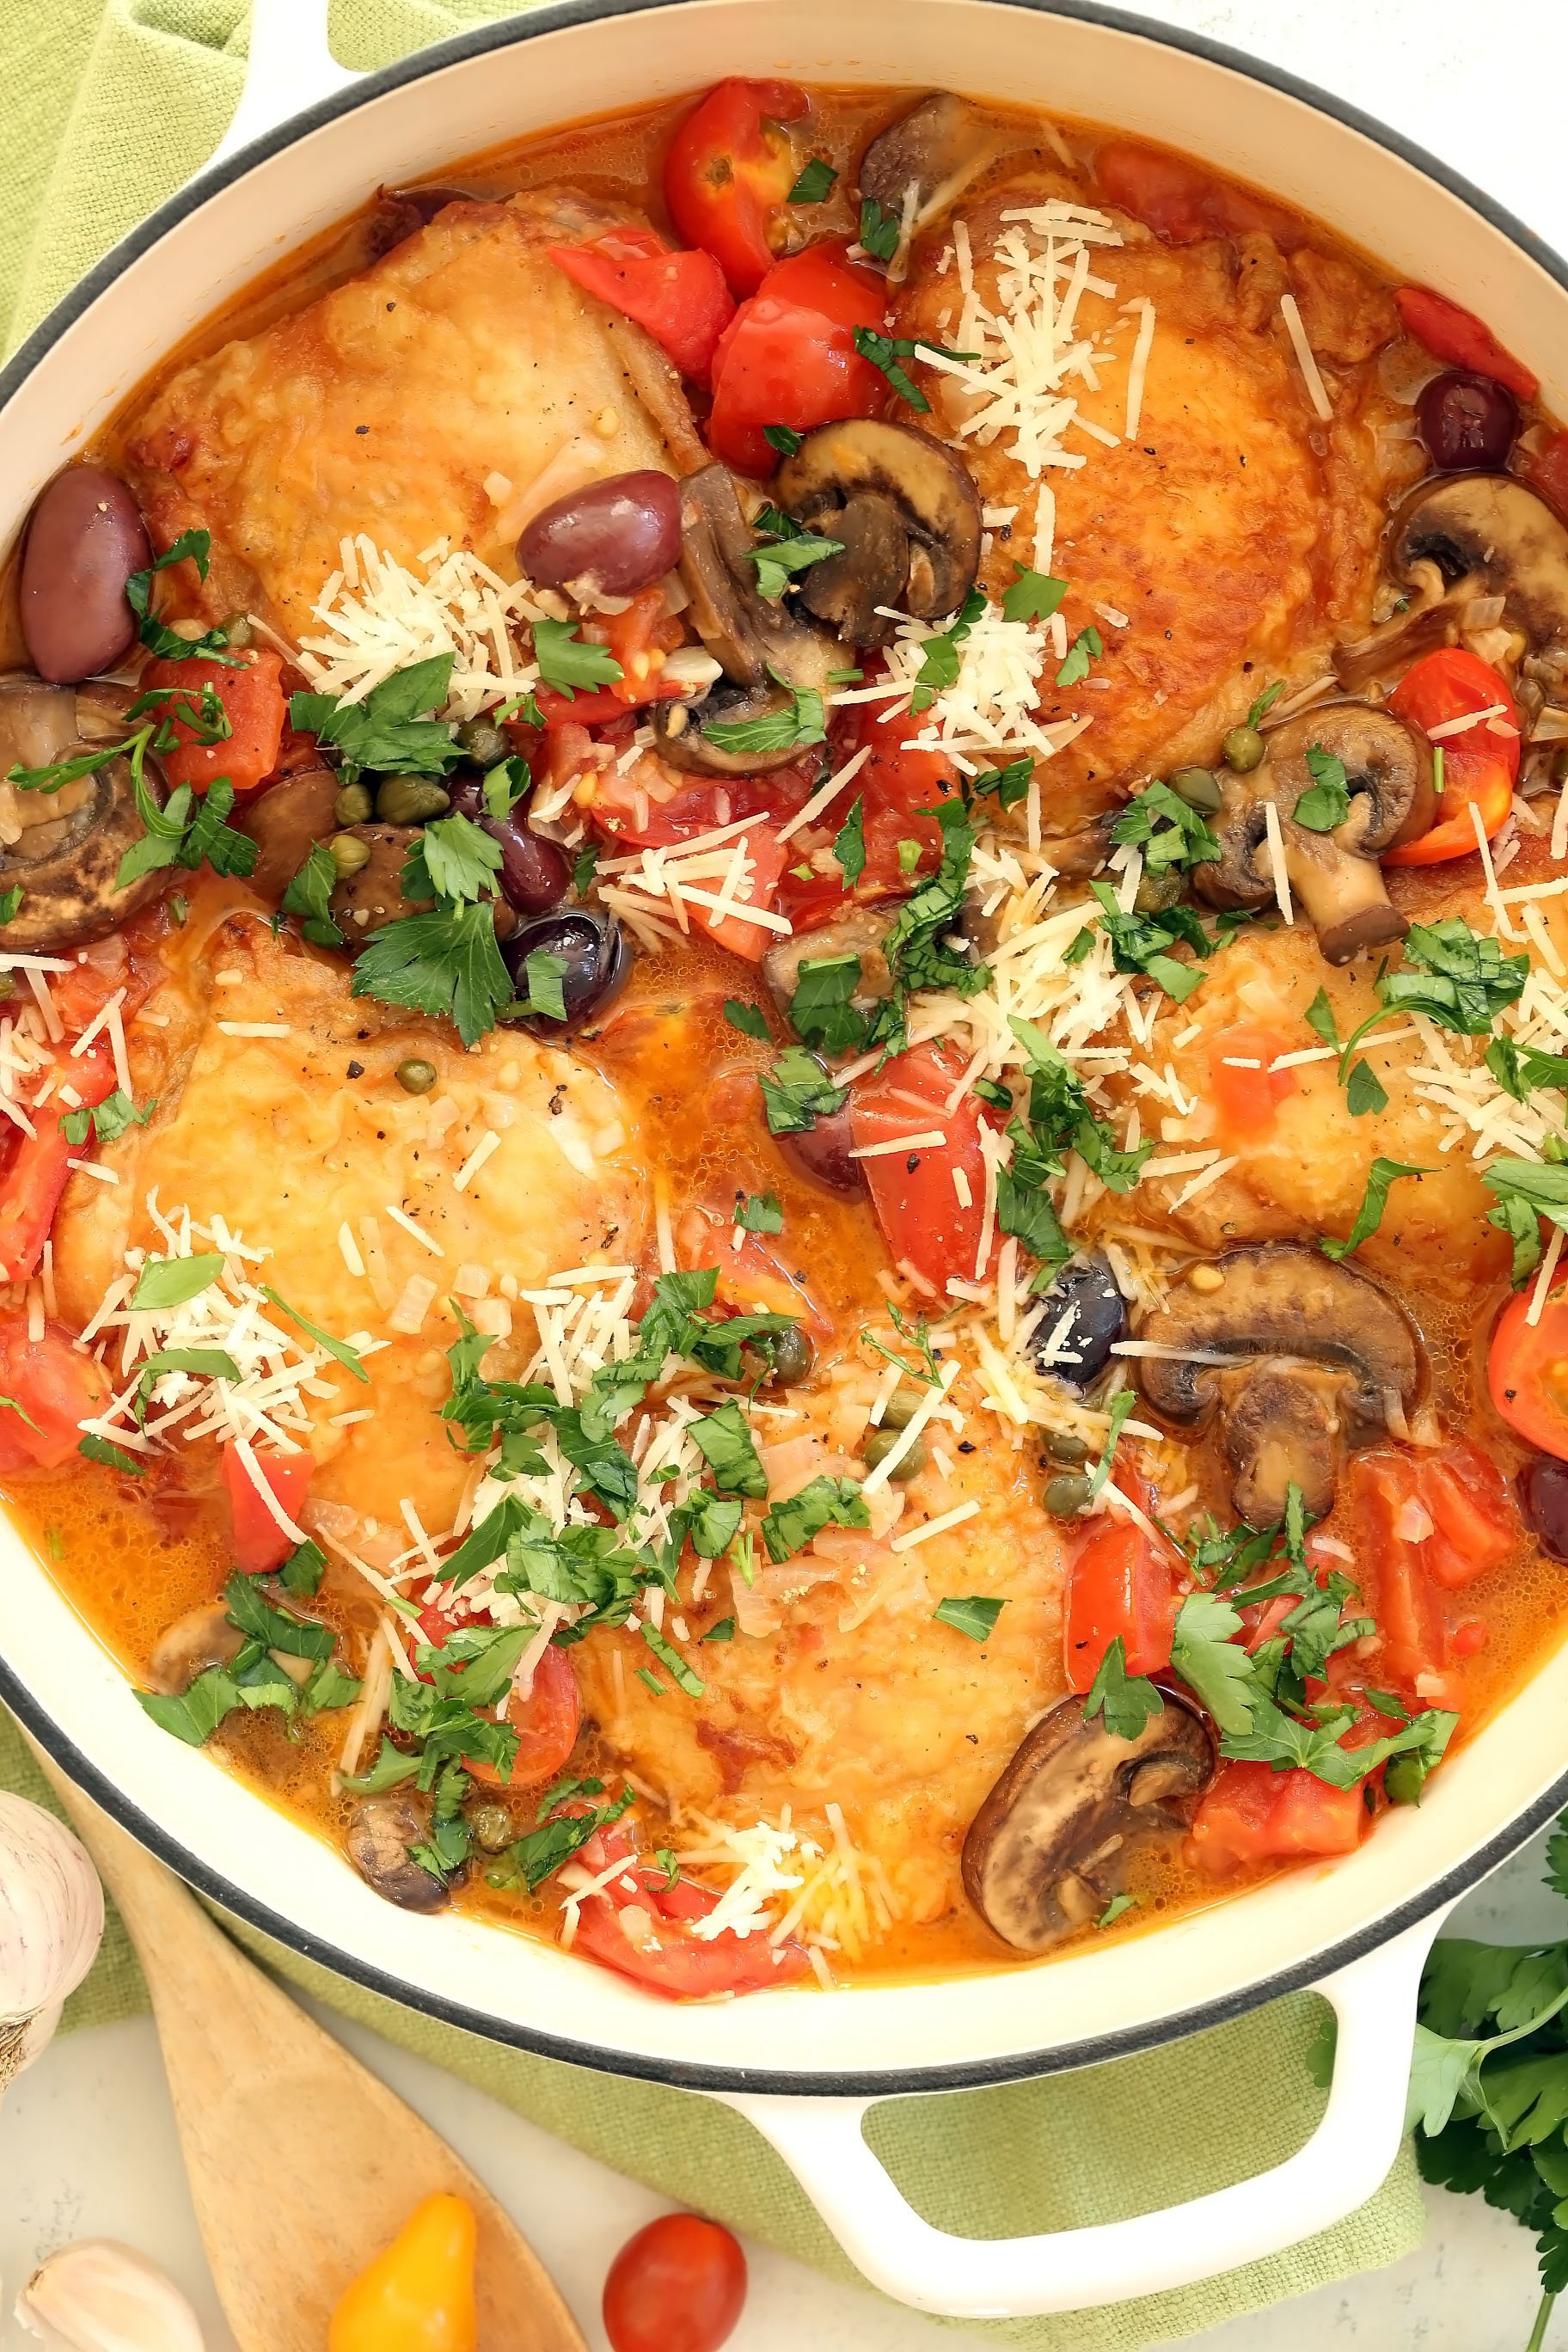
Introduction: The Beauty of Simple Pan-Seared Chicken
There’s a quiet elegance to perfectly pan-seared chicken. It’s a testament to the power of simplicity, a dish that showcases the inherent flavor of quality ingredients without needing a complex sauce or elaborate preparation. This isn’t about masking the chicken’s natural taste; it’s about coaxing it out, creating a golden-brown crust that’s both satisfyingly crunchy and incredibly tender beneath. Crispy Chicken is achievable with just a few key techniques – high heat, a good amount of fat, and a watchful eye. The resulting flavor is deeply savory, with a subtle char that elevates the experience. Think of it as a blank canvas, ready to be filled with the bright, bold flavors of herbs and spices. This particular recipe leans into an Italian-inspired flavor profile, using Italian Herbs like basil and oregano alongside fragrant herbs de Provence, bringing a rustic and robust taste. It’s a dish that feels both sophisticated and approachable, ideal for a weeknight dinner or a casual gathering. Learn more about herbs and their uses in cooking, this method is a fantastic introduction to the art of mastering this simple but rewarding technique. It emphasizes the importance of using fresh ingredients for the best results, highlighting the wonderful flavor of fresh basil. The beauty lies in the minimal effort required to achieve a truly exceptional result. Don’t underestimate the impact of a perfectly seared chicken – it’s a small thing that makes a big difference. We recommend a cast-iron skillet for optimal heat retention and even cooking. The Maillard reaction, that beautiful chemical process that occurs when sugars and proteins are heated, is what creates that irresistible browned crust. Explore the science behind the Maillard reaction.
Ingredients: What You’ll Need for Maximum Flavor
To create this unbelievably flavorful pan-seared Italian chicken, you’ll need a selection of ingredients that build upon each other to deliver an exceptional taste experience. It’s not just about throwing some spices on a chicken; it’s about layering flavors that develop as the chicken cooks, creating a depth of taste you won’t find anywhere else. Let’s break down everything you’ll need, explaining why each element contributes to the final result. Fresh Chicken Thighs are the foundation – bone-in, skin-on thighs provide the most flavor and juiciness. They also render the best fat for searing, which is critical to achieving that beautifully browned skin. You’ll require approximately 4-6 thighs, depending on your appetite and serving size.
Next, we’ll build the spice blend. This is where the ‘Italian’ really shines. Start with a generous amount of Sea Salt – about 2 teaspoons will do. Sea salt enhances all the other flavors and contributes to proper seasoning. Then, add 1 tablespoon of Organic Paprika – smoked paprika will add an even deeper, richer flavor that perfectly complements the chicken. Following that, incorporate 1 tablespoon of Garlic Powder – freshly minced garlic is fantastic if you have it, but garlic powder ensures even distribution and a long-lasting aroma. Don’t skimp on the herbs! 2 teaspoons of Dried Basil are a must, bringing a classic Italian note. 1 teaspoon of Dried Oregano adds a slightly earthy complexity. 1 teaspoon of Dried Thyme contributes a subtle, woody flavor that beautifully balances the other ingredients. Finally, a pinch (about 1/2 teaspoon) of Herbs de Provence delivers a blend of rosemary, thyme, savory, and other Mediterranean herbs – it’s a fantastic shortcut for maximum flavor impact.
Beyond the spices, you’ll need a little something to bind everything together and add a touch of brightness. 1 tablespoon of Olive Oil – extra virgin olive oil is best, as it has a more pronounced flavor. You’ll also need about 2-3 cloves of Fresh Garlic – finely minced or pressed – for an even more intense garlic flavor. A squeeze of Fresh Lemon Juice (about 1 tablespoon) added at the end brightens everything up beautifully. And don’t forget a generous splash of Dry White Wine (about 1/4 cup) – such as Sauvignon Blanc or Pinot Grigio – for deglazing the pan after searing, which creates a luscious sauce. Black Pepper to taste completes the seasoning.
This combination of spices, aromatics, and liquids will transform your chicken thighs into a truly unforgettable dish. Remember, quality ingredients make a significant difference in the final outcome, so choose the best you can find. Don’t be afraid to experiment with the herbs to tailor the flavor to your own preference. Ultimately, you’re building a symphony of taste, and these ingredients are your instruments.
Instructions: Step-by-Step Guide to Crispy Perfection
Let’s transform your chicken into a culinary masterpiece with this simple, step-by-step guide. Achieving that perfectly golden-brown skin and juicy, flavorful meat is all about technique, and we’ve got you covered.
Step 1: Prep Your Stage
Before you even think about heat, ensure your chicken thighs are patted completely dry with paper towels. Moisture is the enemy of crispy skin! A dry surface allows for maximum Maillard reaction – that wonderful browning process that creates amazing flavor. Make sure your pan is ready, too. A stainless steel or cast-iron skillet is ideal because they retain heat exceptionally well. Non-stick pans can work, but they may not achieve quite the same level of browning.
Step 2: Heat it Up – Medium Heat is Key
Place your skillet over medium heat. Let it warm up for a few minutes – you’ll know it’s ready when a drop of water flicked onto the surface sizzles immediately and evaporates quickly. Don’t rush this step; a gradual heat build-up is crucial for even cooking and preventing the skin from burning before the meat is cooked through. This is where the flavor development begins, intensifying the taste of your herbs and spices.
Step 3: Skin-Side Down – The Foundation of Crispy Skin
Carefully place the chicken thighs, skin-side down, into the hot skillet. Don’t overcrowd the pan; working in batches is better than forcing too many thighs in, as this will drop the temperature of the pan and prevent proper browning. As the skin makes contact with the hot surface, you’ll start to see it render – that’s the fat melting out. This is the most important part! Let the skin sear undisturbed for approximately 8-10 minutes, or until it’s deeply golden brown and wonderfully crisp. Resist the urge to move the chicken around; this is what creates that beautiful, evenly browned crust. Using a spatula to gently nudge the chicken if necessary is fine, but avoid constantly moving it.
Step 4: Flip & Finish – Juicy Perfection
Carefully flip the chicken thighs using a spatula. Now, cook for another 8-10 minutes, continuing to sear the skin. The goal here is to cook the chicken through to an internal temperature of 165°F (74°C) as measured with a meat thermometer. If you don’t have a thermometer, you can test for doneness by inserting a fork or knife into the thickest part of the thigh; it should slide in with little resistance. Make sure to baste the chicken with the rendered fat – this adds incredible flavor and moisture.
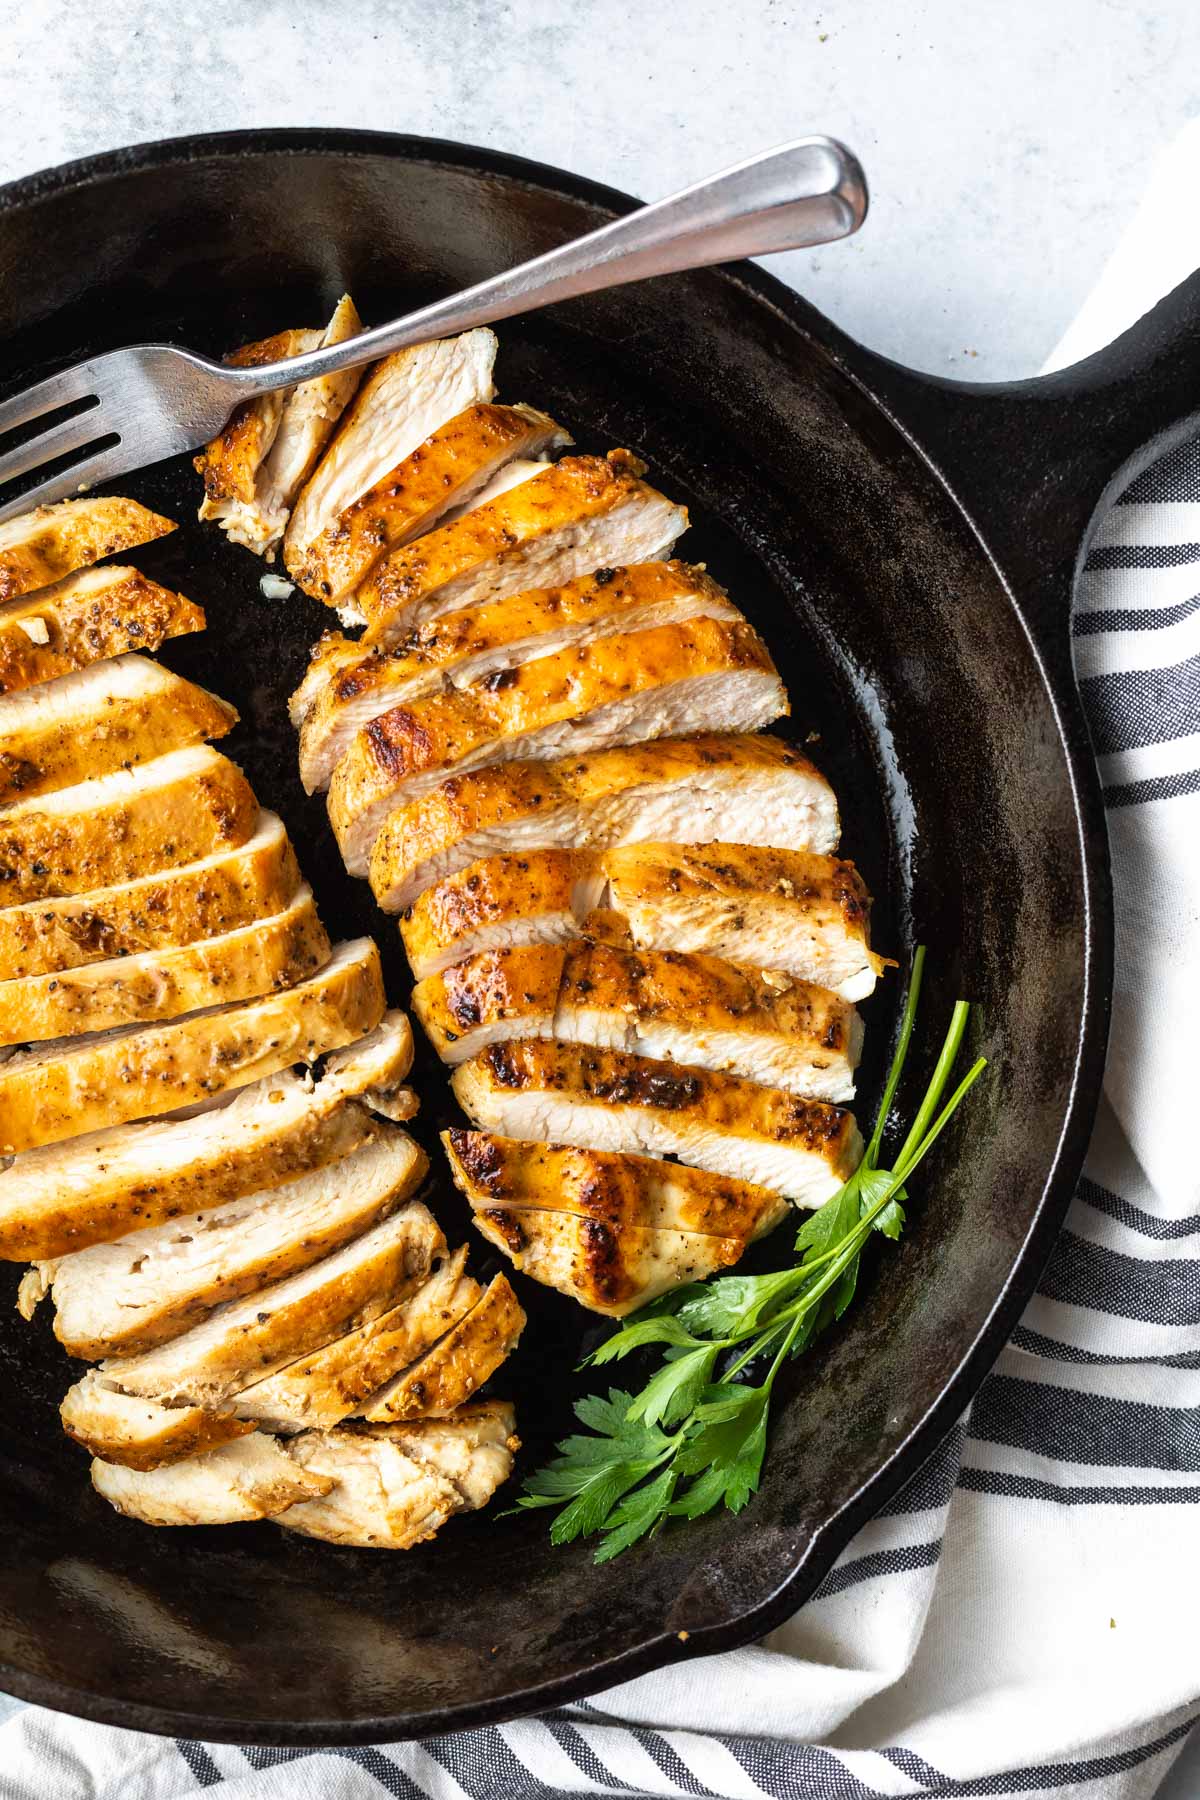
Step 5: Rest & Serve – The Secret to Juiciness
Once the chicken is cooked through, remove it from the skillet and place it on a cutting board. Cover loosely with foil and let it rest for at least 5-10 minutes before slicing. This allows the juices to redistribute throughout the meat, resulting in a more tender and juicy chicken. Slicing against the grain also helps to make it easier to eat. Serve immediately and enjoy the fruits of your labor! Don’t skip the rest step – it’s crucial for maintaining moist, tender chicken. Learn more about resting meat for optimal results.
Important Tip: If the skin starts to burn before the chicken is cooked through, immediately reduce the heat to low, add a tablespoon of water to the pan, cover with a lid, and let it steam for a few minutes to rehydrate the skin. This is a lifesaver! Remember, achieving that perfect crispy skin is about patience and careful heat control. Experiment with different herbs and spices to customize your flavor profile.
Tips & Tricks: Achieving the Ultimate Golden Brown
To truly master this pan-seared Italian chicken, achieving that intensely golden-brown skin isn’t just about time; it’s about technique and understanding the science of heat. Let’s dive into the secrets to unlocking that incredible texture and flavor.
Temperature Control is Key: The most common mistake is overheating the pan, leading to burnt edges and an undercooked interior. Start with medium heat – it’s often too high, particularly in the beginning. As the chicken renders its fat, the heat will naturally increase, and you can adjust accordingly. A good rule of thumb is to watch for a gentle sizzle, not a violent eruption. If the pan is smoking excessively, reduce the heat immediately.
The Importance of Rendered Fat: That beautiful brown color comes from the Maillard reaction, a complex chemical process that happens when sugars and amino acids react at high temperatures. The key is the rendered fat – it provides the surface area for this reaction to occur. Don’t rush this stage! Allow the fat to slowly release from the chicken skin. As the skin crisps, it will naturally shed more fat, further enhancing the browning. Resist the urge to move the chicken around too much; let it sit undisturbed to maximize contact with the hot pan.
The Hot Pan Trick: Preheating the pan thoroughly is essential. A cold pan will steam the chicken, preventing browning. A properly heated pan – one that’s been sitting on the burner for a few minutes – will instantly transfer heat to the chicken, initiating the Maillard reaction quickly. You can test if the pan is ready by flicking a few drops of water onto it; if they bead up and roll away, it’s hot enough.
Don’t Overcrowd the Pan: If you overcrowd the pan, the temperature will drop dramatically, and the chicken will steam instead of brown. Work in batches if necessary. It’s better to have perfectly browned chicken than a whole pan full of undercooked pieces.
Seasoning Strategically: While the spices contribute to flavor, they are primarily there to help the browning process. Ensuring there’s a good amount of fat rendered is key. Don’t be afraid to add a touch more olive oil to the pan if needed – a little extra fat equates to a bigger, better sear. Also, a sprinkle of sugar, just before the final few minutes, can help caramelize and boost the browning.
Resting is Important: Finally, let the chicken rest for a few minutes after searing. This allows the juices to redistribute, resulting in a more tender and flavorful final product. However, remember that resting does not impact the crispness of the skin.
To help further enhance the sear, consider using a cast iron skillet. Cast iron retains heat exceptionally well, providing a consistent and intense heat source that’s perfect for achieving that truly exceptional golden-brown crust. For more information on cooking with cast iron, check out this resource
To capture the vibrant beauty of this recipe, we have a fantastic pin that exemplifies the final result! View the pin here Don’t forget to share your culinary creations with us at @barefeetkitchen and tag us with #barefeetkitchen!
Nutrition Information: A Healthy & Delicious Option
This recipe for perfectly pan-seared Italian chicken isn’t just about incredible flavor; it’s also a surprisingly healthy choice. Let’s break down the nutritional details for a single serving (approximately 4 ounces or 113 grams) of this delightful dish. Chicken breast is a lean protein source, providing roughly 23 grams of protein. Protein is crucial for building and repairing tissues, and it contributes to feelings of fullness, potentially aiding in weight management. Chicken fat contributes approximately 28 grams of fat, primarily saturated fat (7 grams), but it’s important to remember that this fat is rich in essential fatty acids, which offer numerous health benefits. The dish contains approximately 0.4 grams of carbohydrates, consisting mainly of the carbohydrates naturally present in the chicken itself. This means it’s a very low-carb option, ideal for those following ketogenic or low-carb diets.
Beyond the macronutrients, this recipe also delivers a significant amount of vitamins and minerals. A single serving boasts 113 IU of Vitamin A, vital for vision, immune function, and cell growth. It’s also a good source of Calcium (12mg), essential for strong bones and teeth. Trace amounts of Iron (1mg) are included, contributing to oxygen transport throughout the body. Potassium (296mg) is present, an important electrolyte involved in regulating blood pressure and nerve function. The dish provides minimal sodium (111mg), which is beneficial for individuals mindful of their sodium intake.
Calculating the precise calorie count is approximately 347kcal, offering a balanced blend of protein, fat, and minimal carbohydrates. The fat content is a key factor here, contributing the majority of the calories. While it’s a rich source of fat, it’s important to emphasize that the fat is predominantly from animal sources – chicken fat – which, when consumed in moderation, can be a beneficial part of a healthy diet. The protein content ensures a satisfying meal, keeping you feeling full and energized. Ultimately, this pan-seared chicken is a fantastic way to enjoy a delicious and healthy meal, perfect for a balanced diet. For a more detailed nutritional breakdown, consider using an online nutritional calculator, which can account for variations in ingredient measurements. Nutritional Calculator . Furthermore, incorporating variations like adding herbs or spices can subtly shift the nutrient profile, offering even more culinary and nutritional flexibility.
Serving Suggestions & Variations: Elevate Your Meal
To truly savor the experience of perfectly pan-seared Italian chicken, consider how you build the surrounding flavors and textures. This simple recipe is a fantastic foundation, but doesn’t have to be the entire meal. Let’s explore some fantastic additions and variations that can take your dinner from a tasty weeknight dinner to a restaurant-quality experience.
Alongside the Chicken:
- Creamy Polenta: The richness of the chicken pairs beautifully with a smooth, creamy polenta. A generous portion, perhaps infused with Parmesan cheese and herbs like rosemary or thyme, provides a comforting counterpoint to the crispy skin. Polenta Recipe is a great place to start.
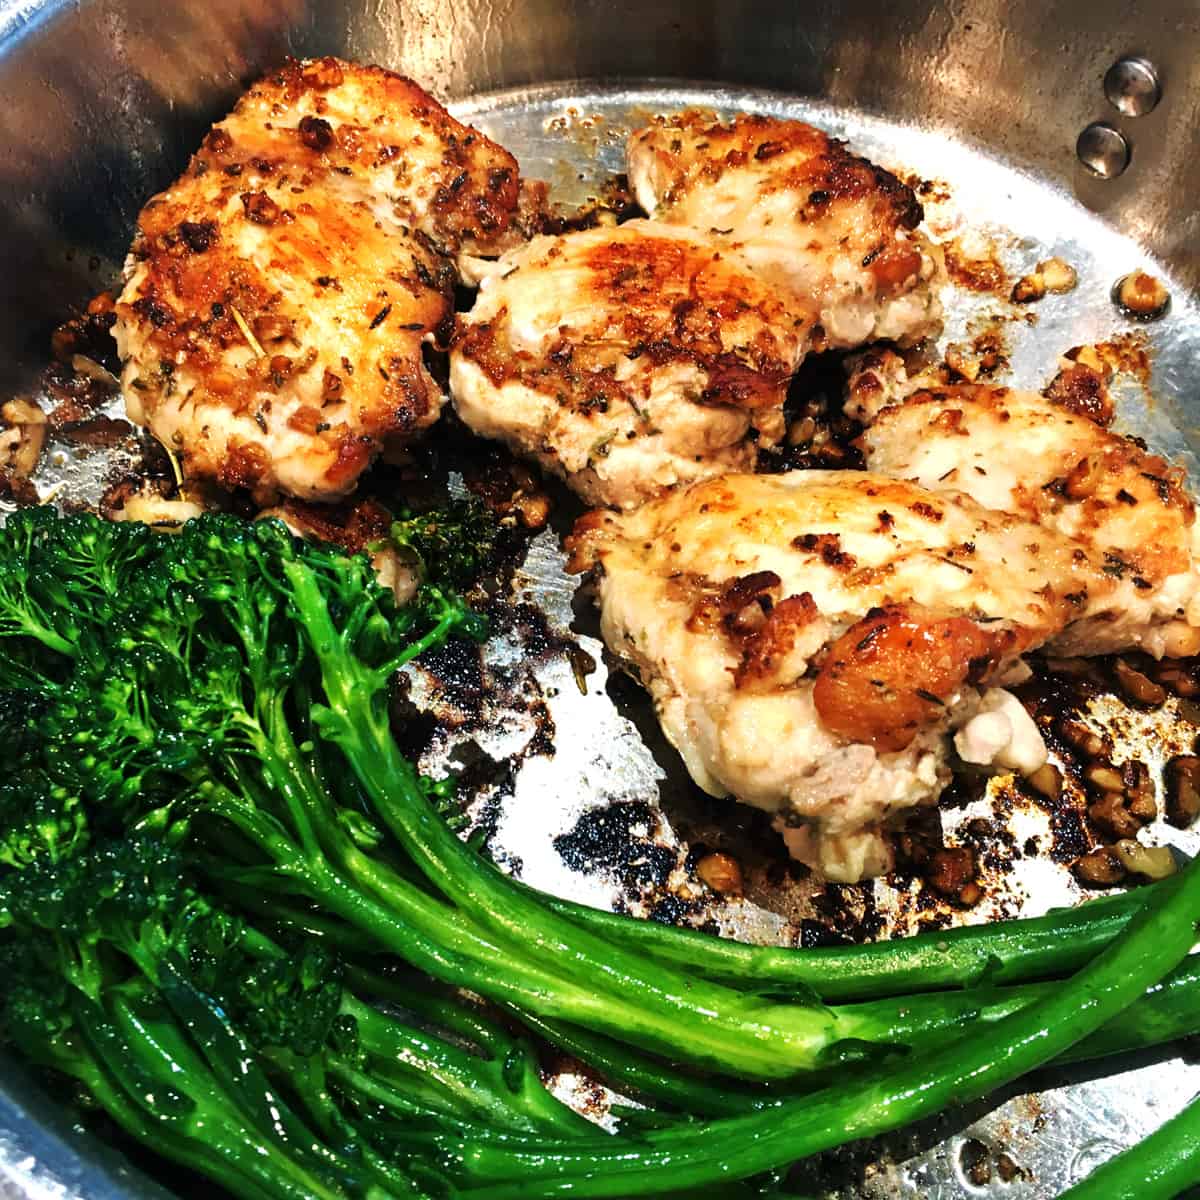
- Roasted Vegetables: Adding a medley of roasted vegetables elevates the meal considerably. Broccoli, Brussels sprouts, asparagus, or even sweet potatoes all benefit from the same searing heat and transform into caramelized delights. Toss them with olive oil, garlic, and a sprinkle of salt and pepper before roasting alongside the chicken for a truly complete meal. Roasted Vegetables Recipe offers inspiration.
- Sautéed Spinach with Garlic: A simple sauté of fresh spinach with garlic creates a vibrant, healthy side. Adding a squeeze of lemon juice at the end brightens the flavors and complements the richness of the chicken. Sautéed Spinach Recipe is a fantastic option.
- Crusty Bread: No meal is complete without crusty bread for soaking up all the flavorful pan juices. Artisan Bread Recipes offers many ideas.
Flavor Variations:
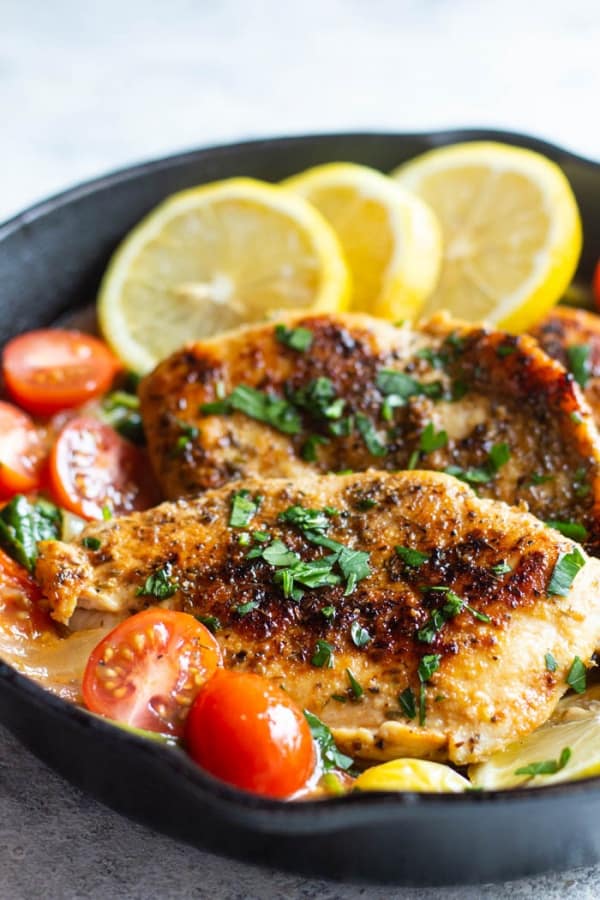
- Lemon & Herb Infusion: Enhance the flavor profile with a generous squeeze of fresh lemon juice and a sprinkle of fresh herbs like oregano, basil, or parsley. These herbs not only add flavor but also help to cut through the richness of the chicken. Lemon Recipes provides tons of inspiration.
- White Wine Pan Sauce: After removing the chicken, deglaze the pan with a generous splash of dry white wine (like Sauvignon Blanc or Pinot Grigio). Reduce the wine until it thickens slightly, creating a luscious pan sauce that’s perfect for drizzling over the chicken. White Wine Sauce Recipe is a great starting point.
- Spicy Kick: For a little heat, add a pinch of red pepper flakes to the pan while searing the chicken, or incorporate a finely chopped chili pepper. Chili Pepper Recipes is an excellent resource.
- Rosemary & Garlic: Infuse the pan with the aromatic flavors of rosemary and garlic. These herbs are classic pairings with chicken and add a rustic charm to the dish. Rosemary Recipe offers a great starting place.
Presentation Matters: Don’t underestimate the impact of presentation. A sprinkle of fresh herbs, a drizzle of pan sauce, and a beautiful side dish can transform a simple chicken dinner into a truly memorable meal. Food Styling Tips provides valuable insight into how to make any dish look restaurant-worthy!
Ultimately, the best way to elevate your pan-seared Italian chicken is to experiment with flavors and ingredients that you enjoy. This recipe is a canvas – let your culinary creativity shine!
 ,
, ,
, ,
, ,
, ,
,